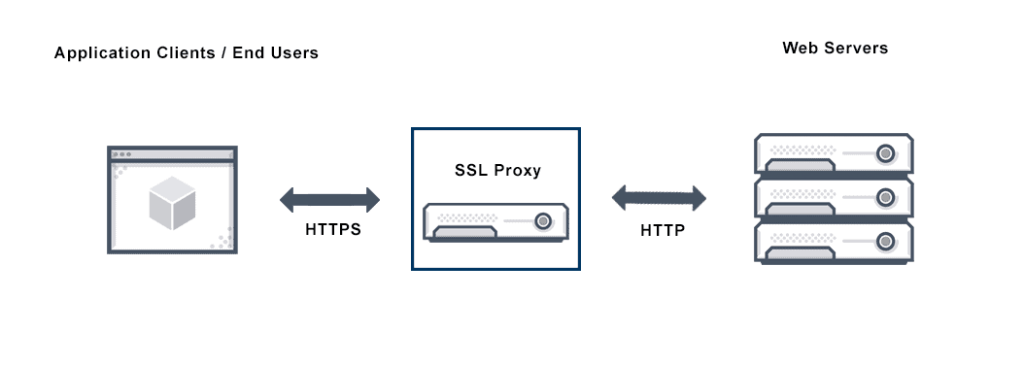
SSL proxy is a transparent proxy that performs Secure Sockets Layer encryption (SSL) and decryption between the client and the server. It performs the SSL encryption and decryption between the client and the server.
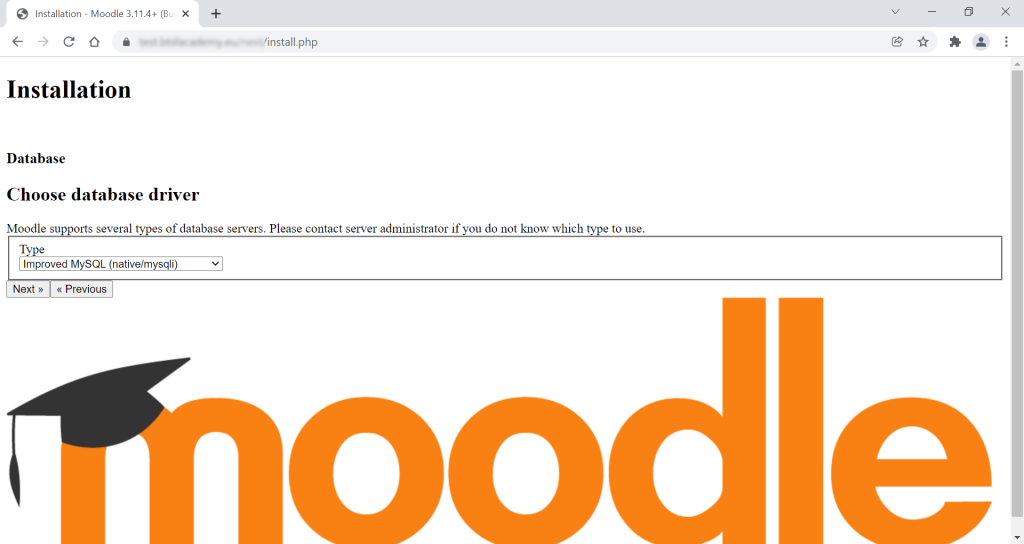
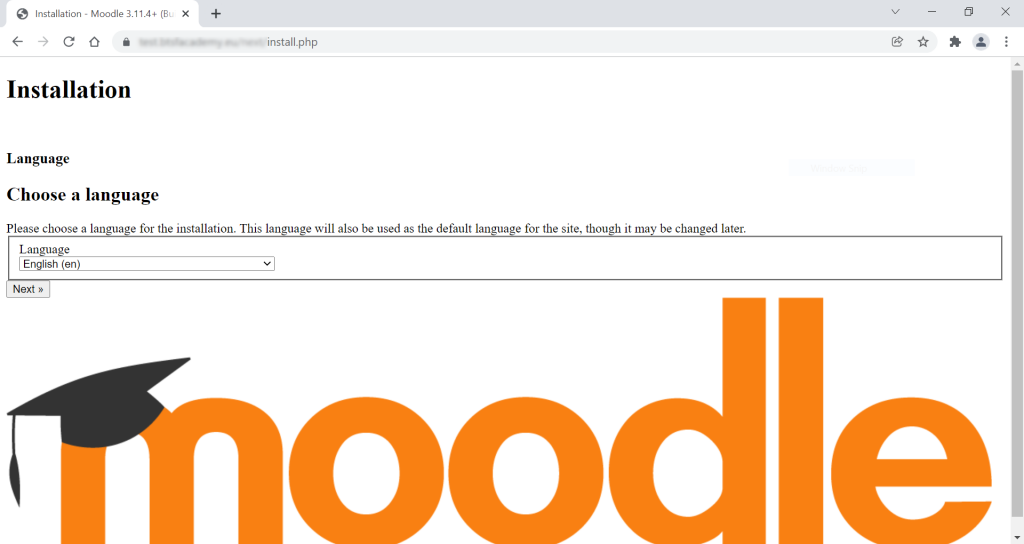
In our case on Azure, the Application Gateway handles the SSL encryption to serve the clients but communicates with the application servers without SSL encryption. It makes communication a bit faster. The vnet is separated so it is also secure. Moodle is prepared for this when it is already installed. You need to set $CFG->sslproxy to 1 in the config.php. But when you are installing there is no config.php. So you will see the installation starting screen like this:
At the first time I thought there is an issue with the Apache2 configuration but then I realized that the page wants to load the CSS using HTTP instead of HTTPS:
<link rel="shortcut icon" href="theme/clean/pix/favicon.ico" /><link rel="stylesheet" type="text/css" href="http://example.org/install/css.php" />What should we do? Basically, nothing. Let’s do the first steps without styles.

When the Moodle installation saves the config.php after you enter the MySQL details you can make changes in the configuration file. You need to make two changes.
- Add the following line anywhere after the Data files permission and before the
require_once(DIR . '/lib/setup.php'); // Do not editline:
$CFG->sslproxy = 1; - Change http to https in the wwroot configuration. So change
$CFG->wwwroot = 'http://example.com/moodle';to$CFG->wwwroot = 'https://example.com/moodle';.

Then you can continue with the installation normally.
Cheers,


One thought to “Installing Moodle using SSL Proxy”
THANK YOU!!! It took many days to find this configuration and debug it in Moodle.